
RockPi 4 – Write image to SPI flash from USB OTG port
In this tutorial we (RockPi 4) write image to SPI flash from USB OTG portt. ROCK Pi supports maskrom mode, which is a special running mode the CPU is waiting for command from USB OTG port. The PC tool we use to communicate with ROCK Pi in maskrom mode is rkdevelop tool, an open source tool by Rockchip.
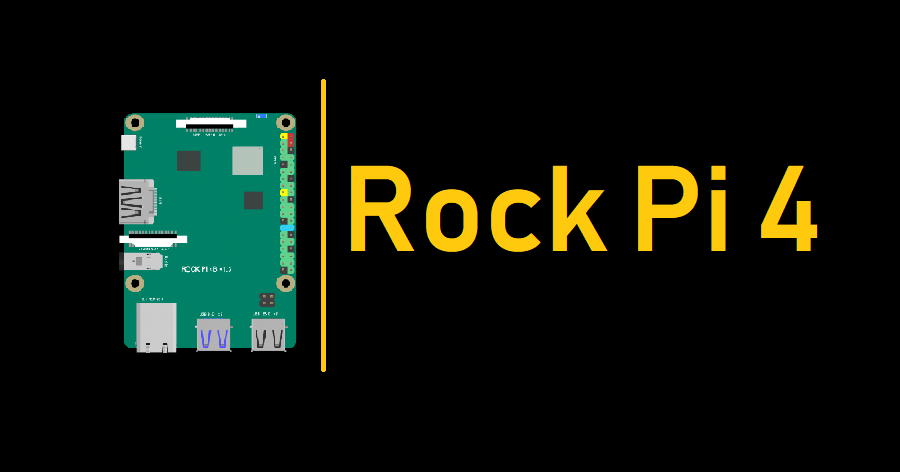
Recommended: What is ROCK Pi 4 ?
RockPi 4 – Write image to SPI flash from USB OTG port
Requirement
- ROCK Pi 4 mainboard
- SPI flash soldered on ROCK Pi 4
- Power adapter
- USB Male A to Male A cable(important) USB-C has been seen as not working, an adaptor for USB-C to USB-A has worked. See discussion.
Make sure rkdeveloptool is set up on host computer
Linux
To build rkdeveloptool on a debain based Linux distribution, follow the instruction below:
Install build dependecy:
sudo apt-get install libudev-dev libusb-1.0-0-dev dh-autoreconf
Clone the source code and build:
 git clone https://github.com/rockchip-linux/rkdeveloptool
 cd rkdeveloptool
 autoreconf -i
 ./configure
 make
If you encounter compile error like below
   ./configure: line 4269: syntax error near unexpected token `LIBUSB1,libusb-1.0'
   ./configure: line 4269: `PKG_CHECK_MODULES(LIBUSB1,libusb-1.0)'
You should install pkg-config libusb-1.0
sudo apt-get install pkg-config libusb-1.0
Then re-run
   autoreconf -i
   ./configure
   make
Now you have rkdeveloptool executable at the current directory.
sudo cp rkdeveloptool /usr/local/bin/
MacOS
To build rkdeveloptool on macOS, you need homebrew(or similar package manager) to install required packages.
Install build dependency:
brew install automake autoconf libusb
Clone the source code and build:
   git clone https://github.com/rockchip-linux/rkdeveloptool
   cd rkdeveloptool
   autoreconf -i
   ./configure
   make
If you encounter compile error like below
   ./configure: line 4269: syntax error near unexpected token `LIBUSB1,libusb-1.0'
   ./configure: line 4269: `PKG_CHECK_MODULES(LIBUSB1,libusb-1.0)'
You should install pkg-config libusb-1.0
brew install pkg-config
Then re-run
   autoreconf -i
   ./configure
   make
Now you have rkdeveloptool executable at the current directory.
sudo cp rkdeveloptool /usr/local/bin/
Boot the board to maskrom mode
Empty SPI flash
To boot ROCK Pi into maskrom mode is simple, you don’t need to press any key
- Power off the board and remove any bootable storage media, remove microSD card, remove eMMC module.
- Plug the USB Male A to Mail A cable to ROCK Pi 4 OTG port(the upper USB3 port), the other side to PC
- Power on the board
Update SPI FLash with bootloader inside
If the SPI flash already contains a bootable bootloader, you need to disable the SPI flash at boot time by shortcut the SPI1_CLK to GND. Use wire to connect PIN 23 and 25. Checkout the Pinout.
Shown as following:
- Use cable to connect PIN23 and PIN25
- Power off the board and remove any bootable storage media, remove microSD card, remove eMMC module.
- Plug the USB Male A to Mail A cable to ROCK Pi 4 OTG port(the upper USB3 port), the other side to PC
- Power on the board
- Remove the cable and disconnect PIN23 and PIN25
Now on your Linux PC, lsusb command show show the following usb devices
Bus 003 Device 005: ID 2207:330c
It means the device is in maskrom mode now.
- Now we can proceed the next step to flash.
Write to SPI flash via USB
On your PC, run the rkdeveloptool
   rkdeveloptool ld        # List the device
   DevNo=1  Vid=0x2207,Pid=0x330c,LocationID=305    Maskrom
Download the SPI loader (flash helper, important) to init the ram and prepare the flashing environment etc. If you don’t have it, you can download it from here
rkdeveloptool db rk3399_loader_spinor_v1.15.114.bin
Write the packed SPI image of u-boot and trust.img, start to write from offset 0.
rkdeveloptool wl 0 /path/to/uboot-trust-spi.img
Reboot the device
rkdeveloptool rd
Now the device should boot from the SPI flash now.
Thanks for reading. If you like this post “RockPi 4 – Write image to SPI flash from USB OTG port” probably you might like my next ones, so please support me by subscribing my blog.
You may also like:


Pingback: RockPi 4 – Write image to SPI flash from USB OTG port — IoTbyHVM – Bits & Bytes of IoT – hashstacks
Pingback: Install VNC server on your ROCK Pi 4 | Connect ROCK Pi via VNC