
Getting Date & Time From NTP Server With ESP8266 NodeMCU
Keeping track of accurate time is important in many projects, especially those involving automation, logging, or scheduling. Using an ESP8266 NodeMCU, you can easily get the current date and time by communicating with an NTP (Network Time Protocol) server. This tutorial will guide you through the process step-by-step.
What You’ll Learn
- How NTP servers work.
- Setting up an ESP8266 NodeMCU to communicate with an NTP server.
- Displaying the current date and time using the ESP8266.
What You’ll Need
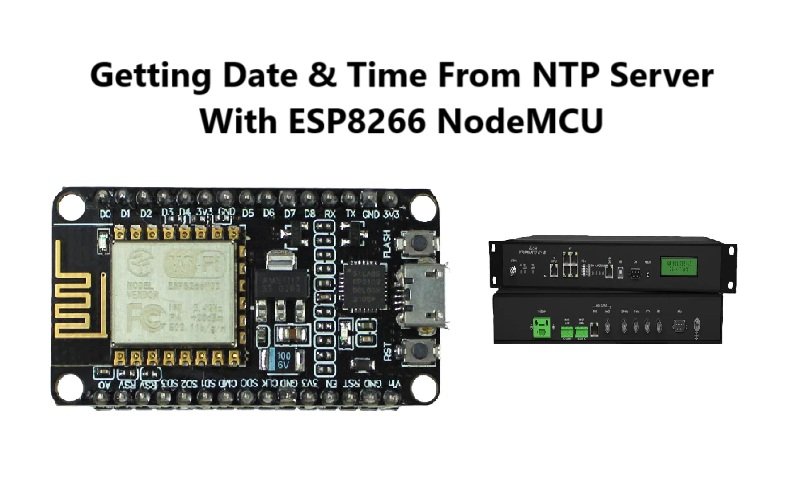
- ESP8266 NodeMCU board
- USB cable (for programming the ESP8266)
- Arduino IDE installed on your computer
- Wi-Fi network for internet access
Step 1: Understanding NTP Servers
NTP (Network Time Protocol) is a networking protocol used to synchronize clocks over the internet. It allows devices to obtain accurate time from an NTP server. Common NTP servers include:
pool.ntp.org- Regional servers like
time.nist.gov(for the US) oreurope.pool.ntp.org(for Europe).
The ESP8266 will act as a client, requesting time data from an NTP server and interpreting it to display the current date and time.
Step 2: Setting Up Arduino IDE for ESP8266
If you haven’t already, set up the Arduino IDE to program your ESP8266:
- Open the Arduino IDE.
- Go to File > Preferences.
- In the “Additional Board Manager URLs” field, add the following:
http://arduino.esp8266.com/stable/package_esp8266com_index.json - Go to Tools > Board > Boards Manager, search for
ESP8266, and install the latest package. - Select NodeMCU 1.0 (ESP-12E Module) under Tools > Board.
Step 3: Install Required Libraries
You’ll need the following libraries to interact with NTP servers:
- WiFi (built into ESP8266 support in Arduino IDE)
- NTPClient
To install the NTPClient library:
- Go to Sketch > Include Library > Manage Libraries.
- Search for
NTPClient. - Install the latest version.
Step 4: Write the Code
Here’s a detailed example of code to fetch and display time from an NTP server:
#include <ESP8266WiFi.h>
#include <NTPClient.h>
#include <WiFiUdp.h>

// Replace with your network credentials
const char* ssid = "Your_SSID";
const char* password = "Your_PASSWORD";

// NTP Server to use
const char* ntpServer = "pool.ntp.org";

// Time offset in seconds (e.g., for GMT+5:30, offset = 5.5 * 3600)
const long utcOffsetInSeconds = 19800;

// Define NTP Client to get time
WiFiUDP ntpUDP;
NTPClient timeClient(ntpUDP, ntpServer, utcOffsetInSeconds);

void setup() {
  Serial.begin(115200);

  // Connect to Wi-Fi
  Serial.print("Connecting to Wi-Fi");
  WiFi.begin(ssid, password);
  while (WiFi.status() != WL_CONNECTED) {
    delay(500);
    Serial.print(".");
  }
  Serial.println();
  Serial.println("Wi-Fi connected");

  // Initialize NTPClient
  timeClient.begin();
}

void loop() {
  // Update time from NTP server
  timeClient.update();

  // Print time to Serial Monitor
  Serial.println("Current time:");
  Serial.println(timeClient.getFormattedTime());

  // Delay for a second
  delay(1000);
}
Step 5: Upload the Code
- Connect your ESP8266 NodeMCU to your computer via USB.
- Select the correct COM port under Tools > Port.
- Click the Upload button.
Once the upload is complete, open the Serial Monitor (set the baud rate to 115200) to see the current time fetched from the NTP server.
Step 6: Customize the Code
You can tweak the code to fit your project:
- Change the
utcOffsetInSecondsto match your local time zone. - Replace
pool.ntp.orgwith a regional NTP server for better response times. - Use the fetched time to trigger actions, like turning lights on/off or logging data.
Troubleshooting Tips
- Not connecting to Wi-Fi: Double-check your SSID and password.
- Time not updating: Ensure the ESP8266 has internet access and the NTP server is reachable.
- Wrong time: Verify your UTC offset and ensure daylight saving adjustments are accounted for.
Conclusion
By using an NTP server, you can easily fetch accurate date and time for your projects with the ESP8266 NodeMCU. This feature is highly useful for applications like data logging, scheduling tasks, or synchronizing devices. Experiment with the code, customize it for your needs, and integrate it into your IoT projects!


