
How to install the image to ROCK 5 using microSD
Radxa Single Board Computer
Radxa SBCs are full computers with a microprocessor, memory, input/output (I/O), and other components built on a single circuit board. Radxa SBCs are small and potent devices that can be used for a variety of DIY projects, smart home control, and game machines. Radxa SBCs are completely open, and it is up to you how to use them. Radxa SBCs are the ideal all-in-one solution for any application requiring a full computer, offering the flexibility to modify software and connect a variety of peripherals.
Radxa ROCK 5 SBC
Radxa’s ROCK5 is the single board computer’s (SBC) of fifth generation. Linux, Android, BSD, and other operating systems can all run on it.
Rockchip RK3588(s) SoC powers the ROCK5 and features an Oct core ARM processor (4x Cortex-A76 + 4x Cortex-A55), up to 32GB 64bit LPDDR4X ram, up to 8K@60 HDMI, MIPI DSI, MIPI CSI, 3.5mm jack with mic, USB Port, GbE LAN, PCIe 3.0 x4, PCIe 2.0, 40-pin colour expansion header, RTC. Furthermore, ROCK5 supports USB PD power in display alternative mode.
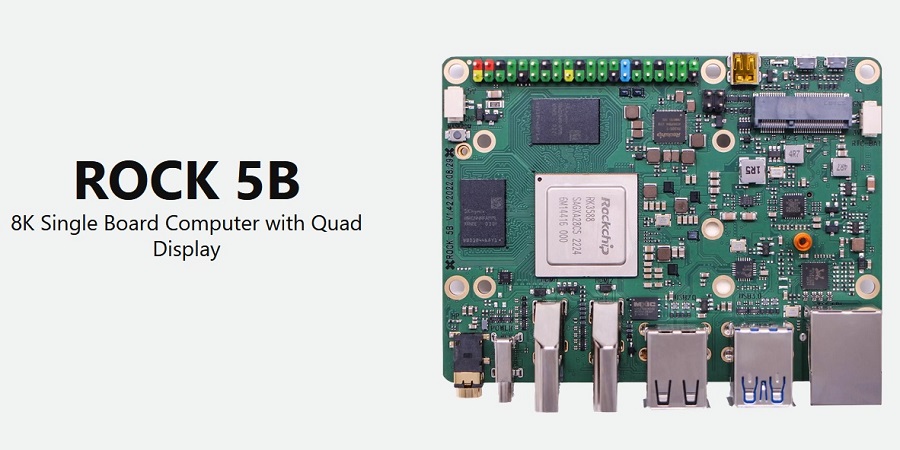
ROCK 5 Model B
ROCK5 is a series of Rockchip RK3588(s) based SBC(Single Board Computer) by Radxa. It can run Linux, Android, BSD and other distributions.
ROCK5 comes in two models, Model A and Model B. Both models offer 4GB, 8GB and 16GB options. For detailed difference between Model A and Model B.
ROCK5 features a Octa core ARM processor(4x Cortex-A76 + 4x Cortex-A55), 64bit 3200Mb/s LPDDR4, up to 8K@60 HDMI, MIPI DSI, MIPI CSI, 3.5mm jack with mic, USB Port, 2.5 GbE LAN, PCIe 3.0, PCIe 2.0, 40-pin color expansion header, RTC. Also, ROCK5 supports USB PD and QC powering.
Install the image to ROCK 5 using microSD
This guide describes how to write images to microSD and erase microSD card for ROCK 5 serial boards.
Option 1: Write image to microSD
In part one let’s focus on writing one system image to microSD. Here we test it with ROCK 5B board.
Step one: Requirements
- ROCK 5B board with power supply
- a microSD card, larger than 8GB, class 10 or better
- a microSD card reader, either a USB card reader or the SD card reader on laptop
- a PC/laptop running Windows or Linux or MacOS
Step two: Download necessary tools and image
- Etcher is the tool we use to write image. Download the right Etcher for your PC from ROCK 5 Downloads page and install it. Check Etcher website for more info about Etcher.
- Choose the image you want to install from ROCK 5 Downloads page.
Here we use the following image for writing.
rock-5b-debian-bullseye-xfce4-arm64-20220615-1045-gpt.img.xz
Step three: Write the image to microSD card
- Insert the microSD Card into microSD Card Reader, which connects to host computer.
- Run the application. For example double click balenaEtcher-1.7.9-x64.AppImage on Ubuntu 20.04:
- In the etcher window, we click button Select image.

- In the etcher window, we click button Select Drive.

- In the etcher window, we click button Flash.

- In the etcher window, it shows us Flash Complete!

Done! Now you have successfully installed the OS image on microSD card.
Option 2: Erase microSD
When microSD is written with Android (or Linux) images before, now we change to Linux (or Android). It’s recommended that you erase microSD first. Then write the target images.
Option 3: Write bootloader only to microSD
In part three let’s take a look know to write U-Boot images to microSD. We have prebuilt u-boot images built via rockchip-bsp SDK. They’re idbloader.img and u-boot.itb.
On Linux PC:
$ sudo dd  if=./idbloader.img  of=/dev/sdX  seek=64
$ sudo dd  if=./u-boot.itb   of=/dev/sdX  seek=16384
On Mac PC:
% sudo dd  if=./idbloader.img  of=/dev/diskX  seek=64
% sudo dd  if=./u-boot.itb  of=/dev/diskX  seek=16384


