
A Guide to Installing a Dual Run Capacitor
What Is a Dual Run Capacitor?
A dual run capacitor is an electrical component found in HVAC systems, through which motors are provided with a necessary initial boost but for two or more motors concurrently. The compact device combines two capacitors within a single aluminum casing. Air conditioning systems rather providing inductive motors function acceptably once more. The capacitor provides motors with the initial pressure necessary to break away from inertia and eventually operate in a more efficient mode.

Preparing for Installation
Safety precautions
Put safety first before starting the installation. Disconnect the HVAC system at the circuit breaker; there should be no way for any power to reach it during the installation. Protect yourself from electric shock and debris, thus wear insulated gloves and safety glasses. Take care to vapidly conduct work under well-ventilated conditions because moisture deteriorates dry electrical contact. Defibrillators can still hold an electric charge even after their power is turned off; thus, take every precaution during this endeavor.
Tools and materials needed
Before installations, have all installation tools handy. The basic tools required will be screwdrivers, needle-nose pliers, wire cutters, and multimeter. In addition, electrical tape, wire nuts, and replacement capacitors should always be kept handy. If you have a capacitor discharge tool handy, it will definitely help; if not, a 20,000-ohm resistor can serve as a substitute.
Identifying the correct replacement capacitor
When the wrong replacement capacitor is used, it poses a danger of system failure. Look into the specifications of your old capacitor, specifically the voltage rating and microfarad (μF) values. Such details are usually printed on the capacitor’s casing. Be sure the new capacitor precisely matches these specifications. If still in doubt, reach out to the HVAC system’s manual or contact a qualified technician.
Discharging the old capacitor
With safety measures taken and tools at hand, it’s now time to discharge the old capacitor. This step is vital if you want to avoid receiving shocks. Using the capacitor discharge tool or a 20,000-ohm resistor, disperse the residual charge safely. Rest the tool across the capacitor terminals and allow it to remain for about 30 seconds. Confirm the capacitor is discharged with a multimeter before attempting to remove it.

Step-by-Step Installation Process
A. Removing the old capacitor
Before you can install the new dual-run capacitor, it needs to be safely removed from the system. Find the capacitor, usually found outdoors next to the compressor. Use an insulated screwdriver to touch both terminals of the capacitor and make sure all the electricity is discharged. Disconnect the wires from the old capacitor, taking care to make a note of where they go. If the old capacitor is held by a mounting bracket, loosen or unclip it from that before removing it.
B. Proper wiring connections
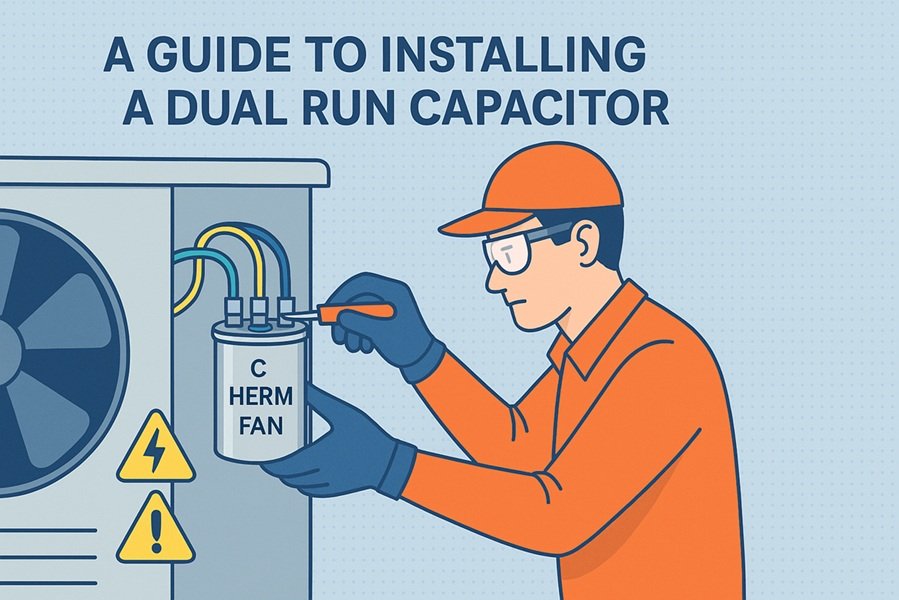
With the old capacitor removed, it is now time to install the new capacitor. Refer to the wiring diagram on the new capacitor or your unit’s manual. Match each wire to its corresponding terminal, typically labeled as “C” (common), “HERM” (hermetic compressor), and “FAN.” Ensure each connection is secure and properly insulated to prevent short circuits.
C. Securing the new capacitor in place
After you finish the wiring, secure the new capacitor inside the mounting bracket. Use the same screws or clips which held the old capacitor. Ensure it’s firmly attached to prevent vibration damage during operation.
D. Testing the installation
After installation, it’s crucial to test your work. Bringing back the HVAC system to power at the circuit breaker. Turn on air conditioning: Listen for unusual noises. Check for both compressor and fan smoothness when running. Monitor the system for a few cycles to ensure consistent operation.
Troubleshooting and Maintenance
Regular maintenance tips
By regular systems maintenance, the dual run capacitor can work better and last longer. Check the capacitor for cracks or leaks first. Clear any debris and keep any other objects away from the exterior of the capacitor enclosure. Regularly check connections and tighten them, to avoid any loose wires. Every year, have a multimeter on hand to check the capacitor’s performance.
When to call a professional
While some have the talent for homeowner maintenance, others need to call in the professionals like an HVAC technician. If the homeowners are not comfortable working on electrical equipment like capacitors or don’t have the necessary pieces of equipment, better leave the work to a certified HVAC technician. Further, in any case of indications of possible capacitor failure, warrant the engagement of professionals to avert any further damage with an appropriate diagnosis and repair.


