
ESP-NOW: Send Sensor Data Between ESP8266 and ESP32
Wireless Sensor Communication Without Wi-Fi Router
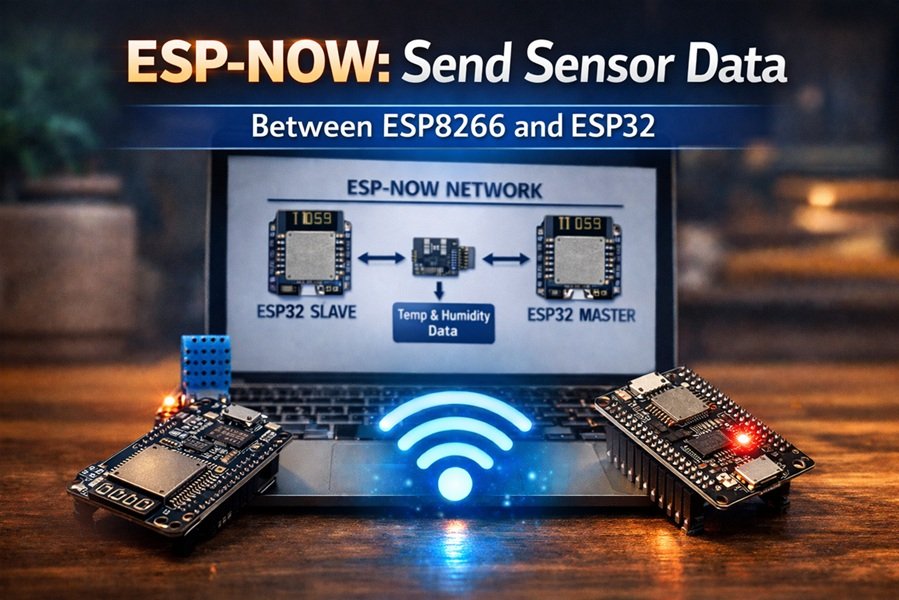
ESP-NOW is an excellent protocol when you want two or more ESP boards to communicate directly. In this tutorial, you’ll learn how to build a simple project where an ESP8266 reads data from a sensor and sends it wirelessly to an ESP32 using ESP-NOW.
This is ideal for IoT projects requiring:
- fast transmission,
- low power usage,
- and reliable peer-to-peer communication.
Read This: ESP-NOW Protocol: A Complete Guide for ESP32 and ESP8266
Project Overview
We will create:
| Device | Role |
|---|---|
| ESP8266 | Sender – reads sensor |
| ESP32 | Receiver – gets data |
| DHT11/DHT22 | Example sensor |
The ESP8266 will measure temperature and humidity and transmit the values to the ESP32 board, which displays them on the serial monitor.
Why This Setup Is Useful
Normally data transfer happens like this:
Sensor → ESP → Router → Cloud → Another ESP
With ESP-NOW we simplify it to:
Sensor Node (ESP8266) → ESP32 Gateway
No router is required. This reduces latency and avoids interference caused by frequent Wi-Fi reconnections.
Hardware Requirements
You need:
- ESP32 Development Board
- ESP8266 NodeMCU Board
- DHT11 or DHT22 Sensor
- USB Cable
- Arduino IDE installed on PC
Wiring the DHT Sensor to ESP8266
| DHT Pin | ESP8266 Pin |
|---|---|
| VCC | 3.3V |
| GND | GND |
| DATA | D4 (GPIO2) |
Software Prerequisites
Before starting:
- You must know how to program ESP boards in Arduino IDE.
- Basic understanding of ESP-NOW is helpful.
- You need the following Arduino libraries installed:
For ESP32:
esp_now.hWiFi.h
For ESP8266:
espnow.hESP8266WiFi.h
ESP-NOW Pairing Concept
Communication in ESP-NOW uses MAC addresses instead of IP addresses.
So first you need:
- MAC address of ESP32 (receiver),
- which will be hardcoded into the ESP8266 sender program.
Getting ESP32 MAC Address
Upload this small sketch once to ESP32 to print its MAC address:
#include <WiFi.h>

void setup() {
  Serial.begin(115200);
  WiFi.mode(WIFI_STA);
  Serial.println(WiFi.macAddress());
}

void loop() {}
- Open Serial Monitor at 115200 baud.
- Copy the MAC address shown.
Example output:
A4:CF:12:98:7A:BC
Example 1 – ESP8266 as Sender
In this part, the ESP8266 reads data from the DHT sensor and sends it to ESP32.
Sender Code (ESP8266)
#include <espnow.h>
#include <ESP8266WiFi.h>
#include <DHT.h>

#define DHTPIN 2
#define DHTTYPE DHT11

DHT dht(DHTPIN, DHTTYPE);

uint8_t receiverMAC[] = {0xA4, 0xCF, 0x12, 0x98, 0x7A, 0xBC};

typedef struct struct_message {
  float temperature;
  float humidity;
} struct_message;

struct_message sensorData;

void onSent(uint8_t *mac_addr, uint8_t sendStatus) {
  Serial.print("Send Status: ");
  if(sendStatus == 0) {
    Serial.println("Success");
  } else {
    Serial.println("Fail");
  }
}

void setup() {
  Serial.begin(115200);
  WiFi.mode(WIFI_STA);

  dht.begin();

  if (esp_now_init() != 0) {
    Serial.println("ESP-NOW Init Failed");
    return;
  }

  esp_now_set_self_role(ESP_NOW_ROLE_CONTROLLER);
  esp_now_register_send_cb(onSent);

  esp_now_add_peer(receiverMAC, ESP_NOW_ROLE_SLAVE, 1, NULL, 0);
}

void loop() {

  sensorData.temperature = dht.readTemperature();
  sensorData.humidity = dht.readHumidity();

  Serial.print("Sending Temp: ");
  Serial.println(sensorData.temperature);

  esp_now_send(receiverMAC, (uint8_t *) &sensorData, sizeof(sensorData));

  delay(2000);
}
How the Sender Code Works
- Initializes ESP-NOW on ESP8266.
- Registers ESP32 MAC address as peer.
- Reads sensor values.
- Sends them every 2 seconds.
The esp_now_send() function is what actually transmits data.
Example 2 – ESP32 as Receiver
Now the ESP32 will accept the data sent by ESP8266.
Receiver Code (ESP32)
#include <WiFi.h>
#include <esp_now.h>

typedef struct struct_message {
  float temperature;
  float humidity;
} struct_message;

struct_message incomingData;

void onReceive(const esp_now_recv_info *info, const uint8_t *data, int len) {

  memcpy(&incomingData, data, sizeof(incomingData));

  Serial.println("Data Received via ESP-NOW");

  Serial.print("Temperature: ");
  Serial.println(incomingData.temperature);

  Serial.print("Humidity: ");
  Serial.println(incomingData.humidity);
}

void setup() {
  Serial.begin(115200);
  WiFi.mode(WIFI_STA);

  if (esp_now_init() != ESP_OK) {
    Serial.println("ESP-NOW Init Failed");
    return;
  }

  esp_now_register_recv_cb(onReceive);
}

void loop() {}
How the Receiver Code Works
- Sets ESP32 in Station Mode.
- Initializes ESP-NOW.
- Waits for packets.
- Displays the values using callback
onReceive().
Testing the System
Step-by-Step
- Flash the ESP32 receiver code first.
- Open Serial Monitor.
- Flash the ESP8266 sender code.
- Within a few seconds you should see output like:
Data Received via ESP-NOW
Temperature: 27.50
Humidity: 68.00
Understanding Reliability
You can monitor:
- packet loss,
- transmission delays,
- and range testing
using ESP-NOW callbacks.
This can be very useful for your own experiments related to signal interference mitigation in Uttar Pradesh or other Indian environments.
Real-World Expansion Ideas
From this project you can build more advanced systems like:
- sending multiple sensor nodes to one ESP32 gateway,
- triggering relays based on received values,
- or integrating ESP-NOW with internet HTTP requests.


