
Home Assistant Voice Kit by Seeed Studio: A Comprehensive Guide
Introduction
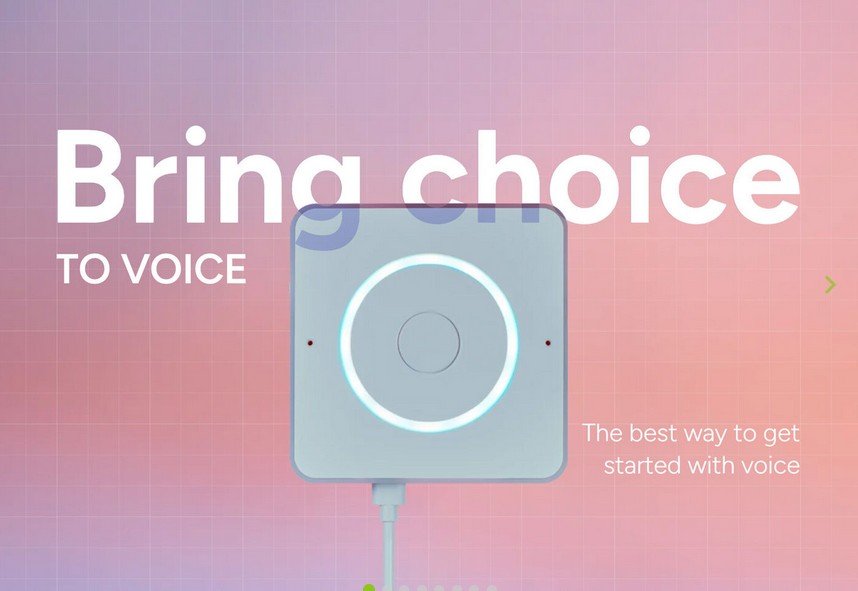
The Home Assistant Voice Kit by Seeed Studio is a cutting-edge open-source voice recognition solution designed to integrate seamlessly with Home Assistant, one of the most popular home automation platforms. This device allows users to control smart home appliances using voice commands, making home automation more intuitive and efficient.
This article explores the features, specifications, setup process, and applications of the Home Assistant Voice Kit to help users understand its full potential.
Specifications
Here is a detailed specifications table of the Home Assistant Voice Kit:
| Specification | Details |
|---|---|
| Processor | Raspberry Pi CM4 (optional) |
| Microphone | Dual-microphone array |
| Speaker | Integrated 2W speaker |
| Connectivity | Wi-Fi, Bluetooth |
| Audio Output | 3.5mm audio jack & built-in speaker |
| Audio Processing | Advanced noise cancellation & wake-word detection |
| Software Compatibility | Home Assistant & ESPHome |
| Power Supply | 5V USB-C input |
| Ports | USB-C, GPIO pins |
| Size & Weight | Compact and lightweight |
Key Features
1. Seamless Integration with Home Assistant
The kit is optimized to work with Home Assistant, enabling users to control smart devices, run automation scripts, and manage home security using voice commands.
2. Wake Word & Local Processing
Unlike cloud-based assistants, this device processes voice commands locally, ensuring faster response times and enhanced privacy.
3. Dual-Microphone Array
The dual-microphone setup allows far-field voice recognition, enabling it to pick up commands from across the room with high accuracy.
4. Built-in Speaker & 3.5mm Audio Jack
With an integrated 2W speaker and an additional 3.5mm audio output, users can get audible responses or connect external speakers for better sound quality.
5. Expandable via GPIO Pins
For enthusiasts looking to expand functionality, the device features GPIO pins, allowing further customization and connection to additional sensors.
Applications
- Smart Home Control: Control lights, thermostats, security cameras, and appliances with voice commands.
- Home Automation: Trigger automation sequences based on voice commands.
- Intercom System: Use the device as an internal communication system for different rooms.
- Voice-Assisted Security System: Monitor and control security devices hands-free.
- Music & Media Playback: Play local media files or control streaming services using voice.
Setting Up the Home Assistant Voice Kit
Step 1: Unboxing and Hardware Setup
- Ensure you have the Home Assistant Voice Kit, power adapter, and Raspberry Pi CM4 (if not pre-installed).
- Connect the power supply via the USB-C port.
- Attach external speakers if necessary via the 3.5mm jack.
Step 2: Installing Home Assistant & ESPHome
- If not already installed, download and install Home Assistant OS on your server.
- Set up ESPHome via Home Assistant for managing voice commands.
Step 3: Configuring the Voice Kit
- Go to Home Assistant Integrations and add the device.
- Enable wake-word detection and configure voice settings.
- Test with simple voice commands like “Turn on the lights”.
Step 4: Customizing Commands and Automation
- Use Home Assistant’s automation editor to create voice-based automation.
- Assign custom wake words and responses for a personalized experience.
Why Choose the Home Assistant Voice Kit?
| Feature | Benefit |
|---|---|
| Privacy-Focused | No cloud processing; all data stays local |
| Customizable | Fully open-source and expandable with Home Assistant |
| Affordable | Cost-effective alternative to commercial voice assistants |
| Easy Setup | Simple integration with existing smart home devices |
| High Accuracy | Dual-mic array ensures accurate voice recognition |
Step-by-step guide on adding custom wake words and automation rules
A step-by-step guide on adding custom wake words and automation rules would involve configuring ESPHome, integrating with Home Assistant, and setting up automation sequences. Here’s a high-level outline of what it would include:
1. Adding Custom Wake Words
- Install and configure ESPHome within Home Assistant.
- Use Porcupine (wake-word engine) or Snowboy for custom wake words.
- Modify the ESPHome YAML configuration to include a new wake word.
- Train a new wake-word model (if necessary) and upload it.
2. Creating Automation Rules
- Use Home Assistant’s Automation Editor to define actions triggered by voice.
- Example: “Turn on the lights” → Activate smart bulbs via MQTT/Zigbee/Z-Wave.
- Customize responses using Text-to-Speech (TTS) or predefined actions.
- Set conditions, delays, and multiple triggers for more complex automation.
Conclusion
The Home Assistant Voice Kit by Seeed Studio is an innovative, privacy-focused, and customizable voice assistant solution for smart home enthusiasts. Whether you’re looking for a hands-free way to control devices or an expandable home automation hub, this kit offers everything you need to build an efficient voice-controlled environment.
With its local processing capabilities, seamless Home Assistant integration, and expandability, it stands out as an excellent choice for DIY home automation setups.
Source: https://www.seeedstudio.com/Home-Assistant-Voice-p-6998.html


