
ROCK Pi 4 Backup and Restore uSD card or eMMC module
In this tutorial we create ROCK Pi 4 Backup and Restore uSD card or eMMC module. It’s always a good ideas to backup your ROCK Pi 4’s image on PC. Below tutorial we assume you use uSD card or eMMC module with eMMC-to-uSD adapter. We don’t distinguish them since for PC, it’s both SD card.
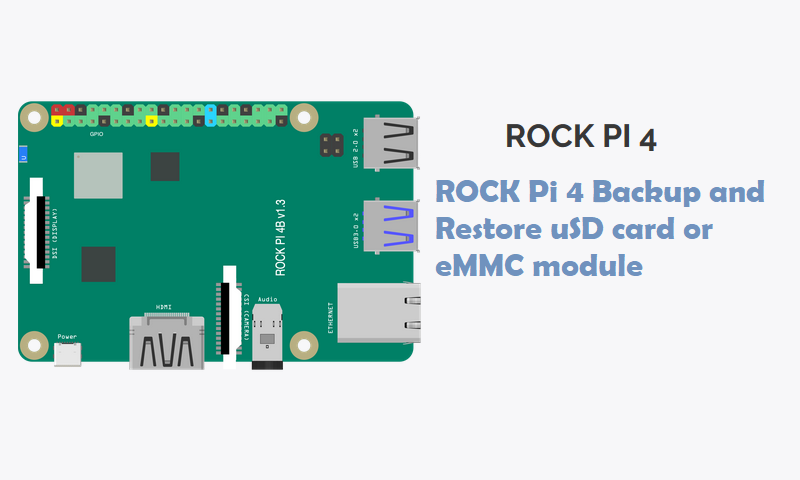
ROCK Pi 4
ROCK Pi 4 is a Rockchip RK3399 based SBC(Single Board Computer) by Radxa. It can run android or some Linux distributions. ROCK Pi 4 features a six core ARM processor, 64bit dual channel 3200Mb/s LPDDR4, up to 4K@60 HDMI, MIPI DSI, MIPI CSI, 3.5mm jack with mic, 802.11 ac WIFI, Bluetooth 5.0, USB Port, GbE LAN, 40-pin color expansion header, RTC. Also, ROCK Pi 4 supports USB PD and QC powering.
ROCK Pi 4 comes in two models, Model A and Model B, each model has 1GB, 2GB or 4GB ram options. for detailed difference of Model A and Model B. This is best alternative of Raspberry Pi. Read more..
ROCK Pi 4 Backup and Restore uSD card or eMMC module
Using Windows
One of the best tools to backup and restore SD cards is Win32 Disk Imager. Download it from SourceForge and install it. BEFORE starting the software, insert your SD card into the SD card reader on your PC. Often this will open the file explorer showing you the contents of part of your SD card, which should look something like this:

This is not the whole of the contents of your SD card – only part of the card contents is readable by Windows. The rest is not readable by your PC.
Once you open Win32 Disk Imager, use the blue folder icon to choose the location and the name of the backup you want to take, and then choose the drive letter for your SD card.

Click on the Read button. The card will then be backed up to your PC.
If you have a problem with your SD card and it becomes unreadable for any reason (e.g. it becomes corrupted), just follow the above instructions, choosing the image you created as the image file, and click on Write to write it back to the SD card. In fact, you can write it back to another SD card of the same size, giving you an exact duplicate.
Using OSX
Insert the SD Card into a card reader on your Mac. Open Terminal and enter the following command to locate your SD Card:
diskutil list
All your disks will be listed, and will look something like below:

Look for your SD card by looking for a disk of the right size and name. In the above example, the SD Card is /dev/disk1.
Next, in Terminal, enter the following command to create a disc image (.dmg) of your SD Card in your home directory.
sudo dd if=/dev/disk1 of=~/SDCardBackup.dmg
Wait until the SD card has been completely read; the command does not show any feedback, so wait for the command prompt to reappear in the terminal window once it is complete.
Again, if you corrupt your SD card or need to make a copy at any time, you can restore it by following the same approach as above to locate your SD card. Before you can write to the card you have to ‘unmount’ it so that the operating system does not try to write to it at the same time. Use the following in the Terminal:
diskutil unmountDisk /dev/disk1
Then use the this to write the image back to the SD card:
sudo dd if=~/SDCardBackup.dmg of=/dev/disk1
Once it has finished writing the image to the SD card, you can remove it from your Mac using:
sudo diskutil eject /dev/rdisk3
Using Linux
Before inserting the SD card into the reader on your Linux PC, run the following command to find out which devices are currently available:
df -h
Which will return something like this:
Filesystem 1K-blocks Used Available Use% Mounted on
rootfs 29834204 15679020 12892692 55% /
/dev/root 29834204 15679020 12892692 55% /
devtmpfs 437856 0 437856 0% /dev
tmpfs 88432 284 88148 1% /run
tmpfs 5120 0 5120 0% /run/lock
tmpfs 176860 0 176860 0% /run/shm
/dev/mmcblk0p1 57288 14752 42536 26% /boot
Insert the SD card into a card reader and use the same df -h command to find out what is now available:

Filesystem 1K-blocks Used Available Use% Mounted on
rootfs 29834204 15679020 12892692 55% /
/dev/root 29834204 15679020 12892692 55% /
devtmpfs 437856 0 437856 0% /dev
tmpfs 88432 284 88148 1% /run
tmpfs 5120 0 5120 0% /run/lock
tmpfs 176860 0 176860 0% /run/shm
/dev/mmcblk0p1 57288 14752 42536 26% /boot
/dev/sda5 57288 9920 47368 18% /media/boot
/dev/sda6 6420000 2549088 3526652 42% /media/41cd5baa-7a62-4706-b8e8-02c43ccee8d9
The new device that wasn’t there last time is your SD card.
The left column gives the device name of your SD card, and will look like ‘/dev/mmcblk0p1’ or ‘/dev/sdb1’. The last part (‘p1’ or ‘1’) is the partition number, but you want to use the whole SD card, so you need to remove that part from the name leaving ‘/dev/mmcblk0’ or ‘/dev/sdb’ as the disk you want to read from.
Open a terminal window and use the following to backup your SD card:
sudo dd if=/dev/sdb of=~/SDCardBackup.img status=progress
The dd command will show the progress, you just need to wait until the command prompt re-appears.
To restore the image, do exactly the same again to discover which device is your SD card. As with the Mac, you need to unmount it first, but this time you need to use the partition number as well (the ‘p1’ or ‘1’ after the device name). If there is more than one partition on the device, you will need to repeat the umount command for all partition numbers. For example, if the df -h shows that there are two partitions on the SD card, you will need to unmount both of them:
   sudo umount /dev/sdb1
   sudo umount /dev/sdb2
Now you are able to write the original image to the SD drive:
sudo dd bs=4M if=~/SDCardBackup.img of=/dev/sdb status=progress
The bs=4M option sets the ‘block size’ on the SD card to 4Meg. If you get any warnings, then change this to 1M instead, but that will take a little longer to write.
Again, wait while it completes. Before ejecting the SD card, make sure that your Linux PC has completed writing to it using the command:
sudo sync
I hope you like this post “ ROCK Pi 4 Backup and Restore uSD card or eMMC module”. Do you have any questions? Leave a comment down below!
Thanks for reading. If you like this post. probably you might like my next ones, so please support me by subscribing my blog.
You may also like:
- Dynamic WLAN configuration for ESP32 Board | AutoConnect
- ESP32 BLE on Arduino IDE with UART Test
- ESP32 Bluetooth Low Energy (BLE) on Arduino IDE
- ArduinoOTA ESP32: Wi-Fi (OTA) Wireless Update from the Arduino IDE
- ESP32 with LoRa using Arduino IDE
- How To Use Grove-LCD RGB Backlight with NodeMCU
- NodeMcu to DHT Interface in Blynk app
- How To ON/OFF a bulb by Google voice assistant
- Arduino IDE | Arduino | Open Source Hardware/Softawre | Arduino Vs RPi
- WiFi LoRA 32 (V2) ESP32 | Overview | Introduction
- DHT11 sensor with ESP8266/NodeMCU using Arduino IDE
- Arduino Support for ESP8266 with simple test code
You may like also:


Pingback: Install VNC server on your ROCK Pi 4 | Connect ROCK Pi via VNC