
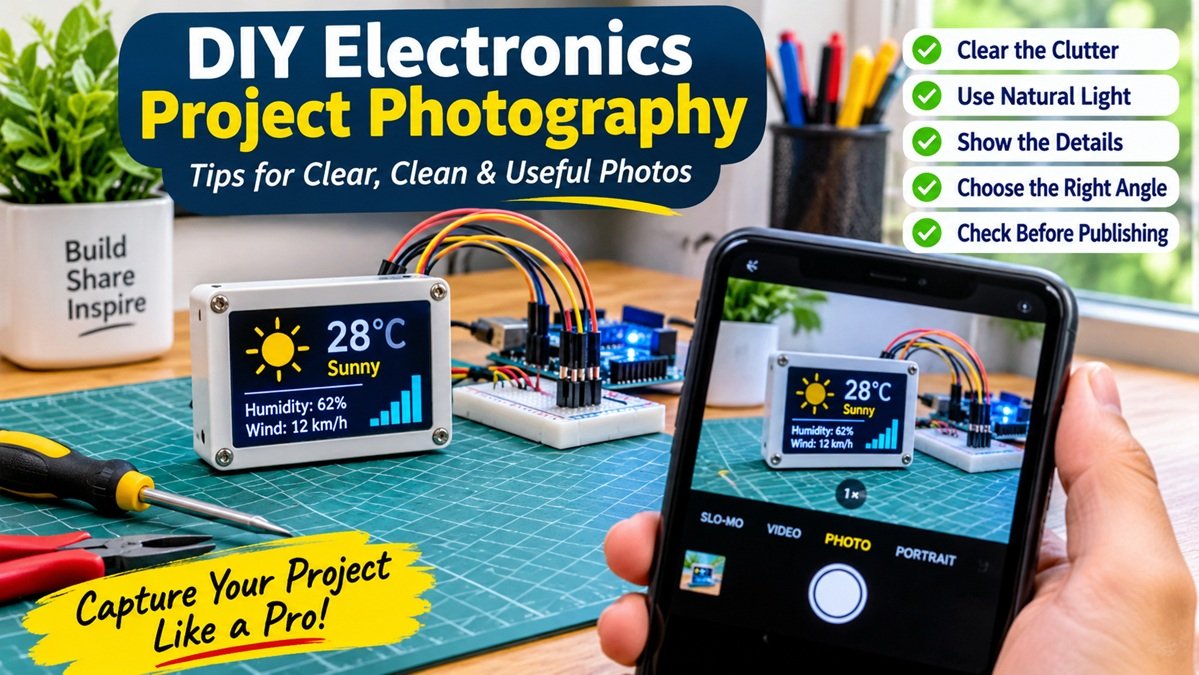
How to Take Better Photos of Your DIY Electronics Project
You finally get the project working. The sensor responds, the display lights up, and everything does what it’s supposed to do. Then you take a photo to share it—and somehow the first thing you notice is the pile of cables behind it.
A workbench is a perfectly good place to build something. It just needs a little preparation before it becomes the background for a project photo.
You don’t need a studio or an expensive camera to get useful pictures. A phone, decent light, and a few deliberate choices can help someone understand what you’ve made.
Decide what each photo needs to show
Before moving anything, think about where the pictures will go.
For a build tutorial, readers need to see how the parts fit together. For a finished-project page, they may first want to know what the thing looks like and what it does. One photo rarely handles both jobs well.
Start with three pictures: an overall view, a closer shot of the important parts, and a photo of the project in use. A small weather display, for example, might need a front view showing the screen, a close-up of the connections, and a wider picture of it sitting on a shelf.
Take the photos you need before dismantling the setup. It’s frustrating to discover that you’re missing a useful angle after the components have gone back into their storage boxes.
Move the clutter before reaching for an editor
Clear away anything that doesn’t help explain the project. Spare packaging, a coffee cup, or an unrelated tool can pull attention away from a small device.
Keep the things that matter. If the power cable is part of the setup, it belongs in the picture. If a breadboard and several jumper wires are essential to the build, don’t hide them just to make the photo look tidy.
A sheet of plain paper or a piece of card can make a useful backdrop for a finished device. Choose something that gives the edges enough contrast. A black enclosure can disappear against a dark desk, while a white case may blend into white paper.
For tutorial photos, clarity matters more than a spotless background.
Try window light first
Place the project near a window with soft daylight. Turn it slightly and watch how the light falls across the surface.
If you can see a bright reflection on a screen or shiny enclosure, change the angle before taking the picture. Moving the phone a little may solve the problem more easily than editing it later.
Avoid mixing strong daylight with a warm desk lamp when possible. Different light sources can make one side of a white case look blue and the other side look orange.
Check illuminated displays separately. Tap the screen area on your phone and try lowering the exposure if the characters look like a glowing white patch. You may need one photo for the readable display and another for the surrounding hardware.
Get closer without losing the context
Take the overall shot first. Then move in for the details someone might need to inspect.
Tap the important part of the image to focus, hold the phone steady, and check the result at full size. Small labels and connector markings can look readable on the camera screen but turn out soft when you open the photo.
If a close-up keeps coming out blurry, move back slightly. Don’t assume you need to get as close as possible. Leave some space around the part and crop the picture afterward if the detail holds up.
For a wiring guide, use a viewpoint that makes the connections easy to follow. A dramatic low angle might look good on a cover image, but an overhead view may be much more helpful to someone building the same thing.
Make a separate image for the finished project
Once you have clear documentation photos, you can prepare a simpler image for a project page, presentation, or thumbnail.
If the finished device is sitting on a busy desk, a transparent background maker can help create a cutout that you can place on a plain background.
Start with a well-lit photo where the whole device is visible. After removing the background, inspect the result closely. Thin wires, antenna tips, small gaps, and clear plastic can be difficult edges to separate.
Use the cutout as a presentation image. Keep the original photos for showing the actual setup, especially when the position of a cable or component matters.
Check the photos like a reader would
Before publishing, open your draft on a phone. Can you understand the overall project without zooming? Are the details large enough to inspect? Does each picture add something useful?
Add short captions where they help. “Sensor mounted inside the lid” tells a reader more than “Project photo 3.”
Keep edits modest, too. Adjusting brightness or trimming empty space is useful. An edit that invents a connector, changes a label, or removes an essential wire makes the photo less reliable.
Your project doesn’t have to look like a retail product. A clear, honest set of pictures gives other people a better chance of understanding it—and perhaps building their own.


